Vanilla installation
Cockroach can be used as a header-only library. It helps installing several point cloud processing and bridge them. This section show you how to install and use Cockroach Vanilla flavour via CMake.
Author: Andrea Settimi
Windows
First things first: CMake!
First thing first install CMake. CMake is a must for dealing with files and libraries in C++ based projects.
If you haven’t installed it yet, download the .msi from their website. Any version after 3.1. .. will do. Run the wizard for your x63 Windows system and everything should be fine.
CMake should be now installed into your environment variables. Just check it by going Start Menu (⊞ Win) > type Edit environment variables for your account > click on Environment Variables... button on the bottom left of the pannel > on System variables pannel look for the entry voice Path and doube-click it. You should see that a directory pointing to your bin folder of CMake (e.g., in my case C:\Program Files\CMake\bin). In case add it, close and you are good to go.
⚠️ if you do not have a Visual Studio and C++ support for windows be sure to download it and install it, for more info how to do it go here.
Install dependecies
If you haven’t installed dependecies yet in your system you would need to this first.
For the current Cockroach version 1.0.1 you will need to install the following dependecies:
Let’s start by installing Eigen first.
Eigen
Open your Windows terminal or cmd. It is important in general to open it with Admin authorization (Start Menu (⊞ Win) > click on Run as Administrator).
In the terminal type the following:
cd C:\
Clone the repo
git clone https://gitlab.com/libeigen/eigen.git
💬 If git doesn’t work it’s because you need to install git and add it to your path variables
Go into the directory
cd eigen
Create a folder to put the project configurated by CMake
mkdir build
Let’s configure the project
cmake -S . -B build -G "Visual Studio 16 2019" -A x64
Let’s install it (we don’t need to build it because Eigen is a header-only library)
cmake --build build --config release --target install
Open3D
Next, let’s install Open3D.
cd C:\
git clone https://github.com/isl-org/Open3D.git
cd open3d
mkdir build
Let’s configure the project:
cmake -S . -B build -G "Visual Studio 16 2019" -A x64 -DBUILD_SHARED_LIBS=ON -DBUILD_EXAMPLES=OFF -DBUILD_PYTHON_MODULE=OFF -DBUILD_CACHED_CUDA_MANAGER=OFF -DBUILD_WEBRTC=OFF
Differently to header-only libraries, we need to first to build it:
cmake --build build --config Release --target ALL_BUILD
And to install it:
cmake --build build --config Release --target INSTALL
Cilantro
Same procedure with different settings. The following snippet contains everything but execute line by line in the terminal.
cd C:\
git clone https://github.com/kzampog/cilantro.git
cd cilantro
cmake -S . -B build -G "Visual Studio 16 2019" -A x64 -DBUILD_SHARED_LIBS=OFF -DCMAKE_INSTALL_PREFIX="C:\Program Files\cilantro"
cmake --build build --config Release --target ALL_BUILD
cmake --build build --config Release --target INSTALL
That’s it for the dependecies!
Cockroach
Once all the dependecies are isntalled we can install Cockroach.
Cockroach v.1.0.1 is a header-only library with one single header interface due to its contained size. We don’t need to build the library, just installing the headers.
cd C:\
git clone https://github.com/ibois-epfl/Cockroach.git
cd cockroach
Let’s configure and install Cockroach:
cmake -S . -B build -G "Visual Studio 16 2019" -A x64
cmake --build build --config Release --target install
By default, Cockroach will be installed in C:\Program FIles\Cockroach.
Usage
Time to test if Cockroach is working. The example project examples\show_bug can be used as template to use Cockroach.
cd C:\cockroach\examples\show_bug
mkdir build
Configure the projeect
cmake -S . -B build -G "Visual Studio 16 2019" -A x64
Build the project
cmake --build build --config Release
or alternatively by using the MSbuild.exe. Just be sure that it is in your environment path.
MSBuild.exe -t:rebuild build/<name-of-the-project>.sln /property:Configuration=Release
And just launch the producecd .exe file
"build\Release\show_bug.exe"
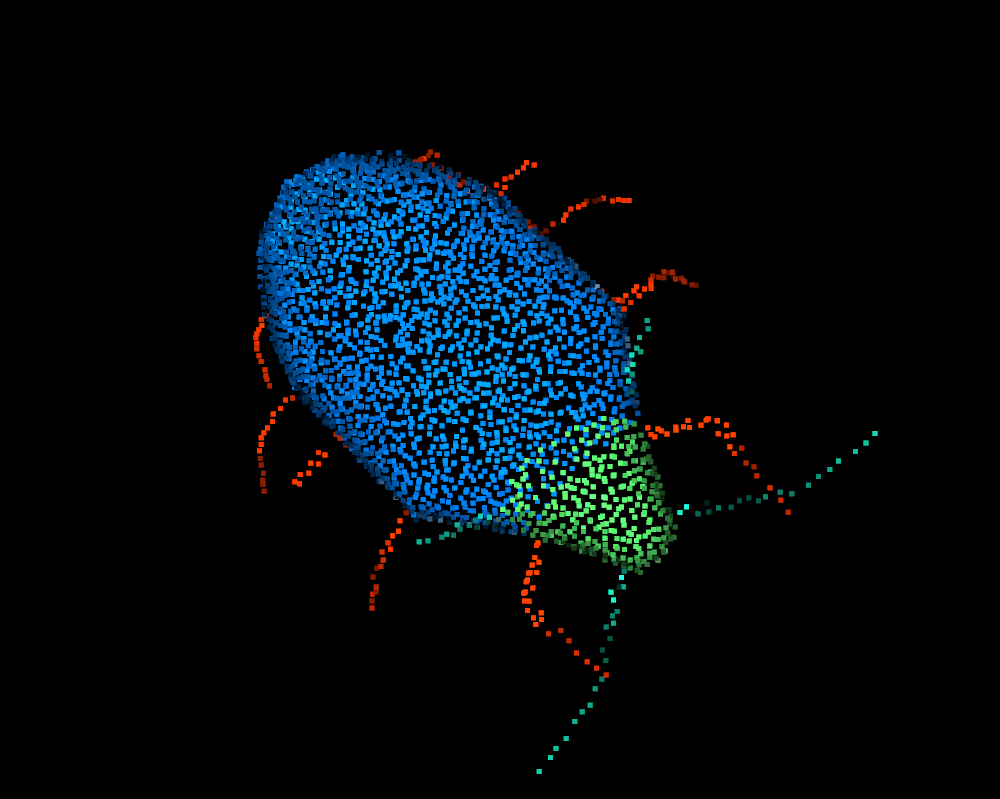
If everything is working, you should be able to visualize this “bug”: